Arts & Entertainment
Make Your Own Coin Purse
Instructions for a do-it-yourself design that everyone can handle.


I love little things. I guess they have a cuteness about them that big objects or gifts can't compete with. Well, here is a really easy way to create your own tiny coin purse. It can be used for anything really. You can even make it bigger if you want. With do-it-yourself projects, you can do whatever you want!
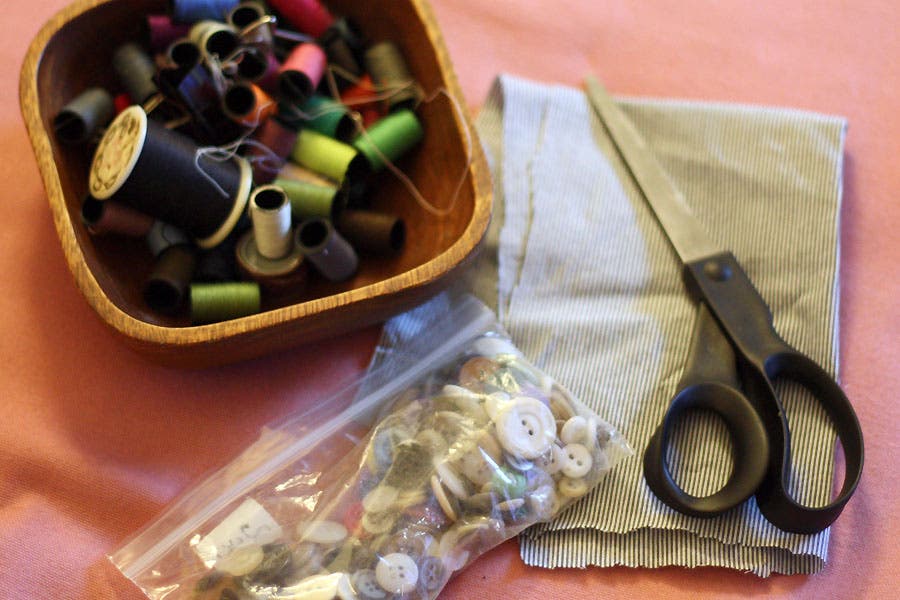
Materials: fabric of your choice, needle & thread, scissors, buttons and safety pins
First you need to choose your fabric. I actually have tons from past projects and old clothes so I took a piece from an old pair of pants that I thought would work nicely. Once you have that ready you will need to cut it to size. Whatever size you choose, make sure you leave extra fabric on one side so it can fold over and close the purse.
Find out what's happening in Malverne-Lynbrookwith free, real-time updates from Patch.
If you need fabric or could use some inspiration stop by Designer Discount Fabrics on Sunrise Highway or . You can also recycle something you already have like an old shirt or pillowcase. You can use just about anything for this project.
Now, get your needle and thread ready. Fold the fabric over but leave some extra on the top. This will be the inside of the purse so make sure the good side of the fabric is not showing.
Find out what's happening in Malverne-Lynbrookwith free, real-time updates from Patch.
Next, put a safety pin on both sides to keep it still and then sew them together starting from the bottom. Start the first stitch inside-out so you can tie a small knot when you are done. You don't want the knot on the outside.
You can purchase safety pins and sewing kits at Rite Aid on Sunrise Highway. on Merrick Road will have them, too, as well as scissors if you don't have a pair around the house.
Once you have both sides done choose a small button to adhere to the front side. Keep it inside out and sew the button on holding it on the inside. Thread it a couple of times and tie a good knot.
Any button will do for this project. You can use old ones that haven't been used or you can search for some new ones at Antique Equities on Hilton Street. Sometimes vintage shops have a bunch of them for sale.
Then flip the fabric and cut a small slit in the flap where the button lines up with it. This is so you can tuck the button through and close it. You can cut the flap to any shape you want. I chose a triangle shape so it resembles a letter.
It may seem a little confusing but this project is really easy. You just need patience and some time so its done right. Be creative and add other decorative features. I added another button because I happen to love them. Whatever you choose, I am sure it will look absolutely fantastic.